Beginning Java 03 – Install Eclipse IDE 2
OK, let us continue to install Java Runtime Environment:
After you downloaded the Java file, our file name is "jre-6u25-windows-x64.exe" (IF you downloaded a 32-bit Java program, you should have different name, for example, "chromeinstall-6u25.exe" if you used Chrome browser)
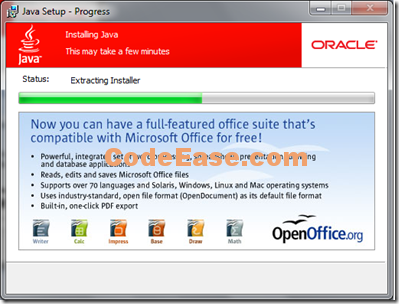
Double click the "jre-6u25-windows-x64.exe" file to start the installation of Java:
Click "Install" button:
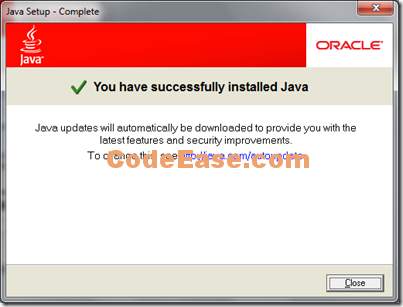
OK, just wait a few minutes, when you see the following screen then your JRE installation should be done.
After you done the JRE installation, you still can not run the Eclipse installation because your Windows 7 can not give a PATH to let Eclipse installation program to know where your JRE location is now.
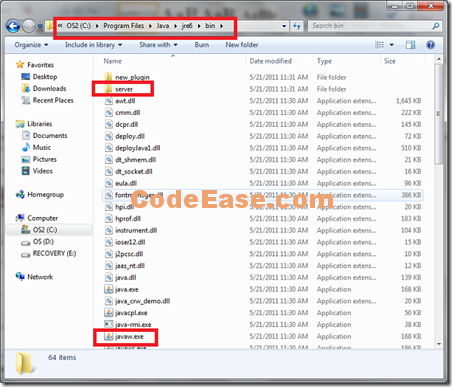
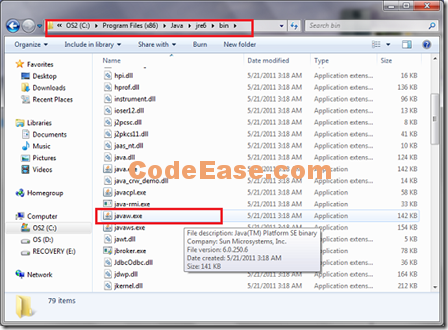
OK, firstly we need to know where our JRE is:
For 64-bit:
For 32-bit:
We can see the Javaw.exe file which was requested is located in "C:\Program Files\Java\jre6\bin" (64-bit) or "C:\Program Files (x86)\Java\jre6\bin" (32-bit).
Now we should tell the proper Java path to Eclipse:
Go to your Eclipse folder and open the file eclipse.ini using a text editor.
In our Windows 7, we used Notepad to open eclipse.ini, by default, all content in this .ini file looks like they are in one line, but actually they are not, there is line break character which the Notepad program can not recognize them correctly.
In eslipse.ini file, default content is the following:
-startup
plugins/org.eclipse.equinox.launcher_1.1.1.R36x_v20101122_1400.jar
--launcher.library
plugins/org.eclipse.equinox.launcher.win32.win32.x86_64_1.1.2.R36x_v20101222
-product
org.eclipse.epp.package.java.product
--launcher.defaultAction
openFile
--launcher.XXMaxPermSize
256M
-showsplash
org.eclipse.platform
--launcher.XXMaxPermSize
256m
--launcher.defaultAction
openFile
-vmargs
-Dosgi.requiredJavaVersion=1.5
-Xms40m
-Xmx384m
Locate the line of "-vmargs", just above this line, add the following content (Note, you should add the correct folder which in your computer):
-vm
C:\Program File\Java\jre6\bin\server\jvm.dll
The following is all content after you added your setting, just for you copy conveniently.
-startup
plugins/org.eclipse.equinox.launcher_1.1.1.R36x_v20101122_1400.jar
--launcher.library
plugins/org.eclipse.equinox.launcher.win32.win32.x86_64_1.1.2.R36x_v20101222
-product
org.eclipse.epp.package.java.product
--launcher.defaultAction
openFile
--launcher.XXMaxPermSize
256M
-showsplash
org.eclipse.platform
--launcher.XXMaxPermSize
256m
--launcher.defaultAction
openFile
-vm
C:\Program Files\Java\jre6\bin\server\jvm.dll
-vmargs
-Dosgi.requiredJavaVersion=1.5
-Xms40m
-Xmx384m
Save the eclipse.ini file, and double click esclipse.exe now.
Bingo! We see the running screen:
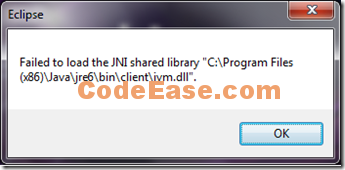
If you can not see but maybe similar with below shown, you must input something wrong in eclipse.ini file, for the following screen shot showing, it must input a folder which include 32-bit JRE but not 64-bit JRE.
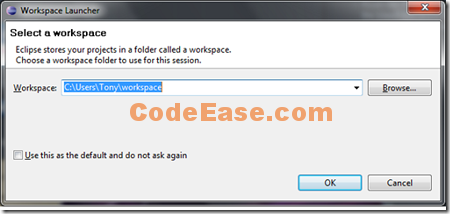
Anyway, if you can see the correct Eclipse start screen, then we can follow the wizard, leave the default setting or you input your folder:
After you specified the Workspace folder, Eclipse will continue to loading something for we using Eclipse:
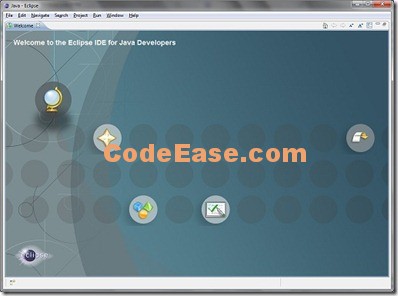
Soon, you will see the Eclipse IDE face !
OK, Eclipse IDE for Java Developer Windows 64-bit installation done !

