Configure Security and Authentication for IIS virtual directory
After you create a new IIS virtual directory through IIS 5.1 manager, It is the time to Configure Security and Authentication for your new IIS virtual directory.
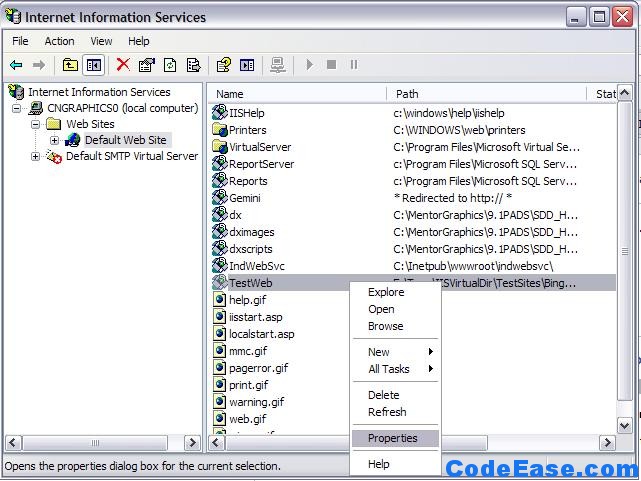
In IIS Manager, right-click a virtual directory that you want to configure, and then click Properties.
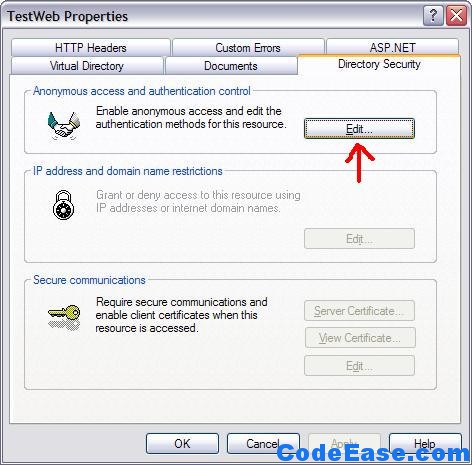
Click the Directory Security tab, and then in the** Authentication and access** control section, click Edit.
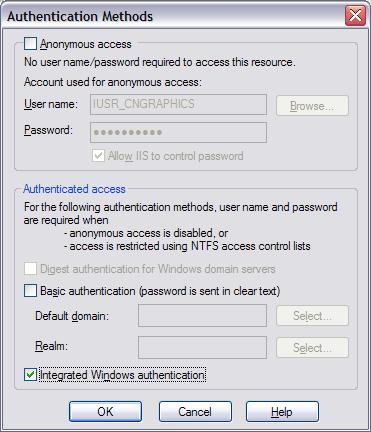
you then see the Authentication windows
When you configure security, you specify permissions for an account or group. The following table shows the permissions settings that are available in IIS 5.0, IIS 5.1, and IIS 6.0.
1: Account or Group Type 1: An account or group that is allowed to browse the site if you disabled anonymous authentication when you created the virtual directory.
The Permissions is Read & Execute
1: Account or Group Type 2:
The account that is configured to access system resources for the ASP.NET current user context, such as the Network Service account (IIS 6.0) or the ASPNET account (IIS 5.0 and 5.1).
The Permissions is Read & Execute, ** List Folder Contents, Read, Write**
The two most common authentication scenarios are as follows (from Microsoft): * Windows Integrated authentication for a local intranet site. * Forms authentication for an Internet or extranet site where users access the site through a firewall.
To configure authentication for an intranet or local development scenario, clear the Anonymous access check box, and make sure that the Integrated Windows authentication check box is selected.
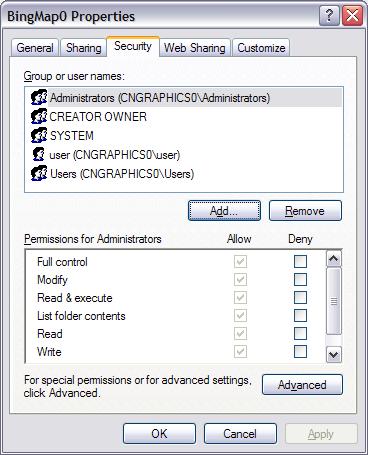
The next step should go to Windows Explorer, find the real local windows directory which you set it IIS virtual directory above, Right-click the folder and then click Sharing and Security, then Click **Security **tab:
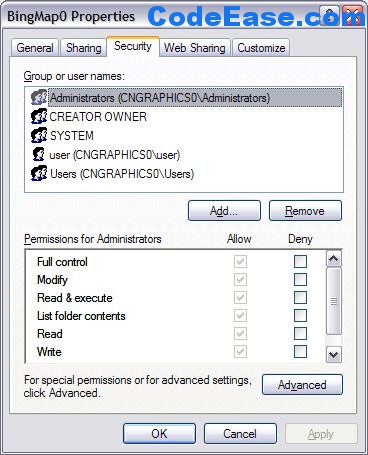
In the Group or user names list, select a group or user name. In the **Permissions **list, select appropriate permissions for the group or user name. then click Apply and OK.