Import SQL Server 2008 data table structure into Microsoft Visio 2010
Seems there is few help information on internet that how to import an existing SQL Server data table structure into Microsoft Visio 2010, or there are some information, but when you read them, you are always confused because most of them missed some important steps.
OK, now people are using Microsoft Office 2010, so the Visio version is 2010. If you want to import existing SQL Server 2008 data table structures, you have to do 2 main steps:
Step 1: Create a System Data Source Name (DSN) in Windows OS (XP, Vista or Windows 7);**
Step 2: Import SQL Server data tables in Visio.**
Let us talk deeply for above 2 steps.
We are using Windows 7:
Step 1: Create a new System DSN (Data Source Name):
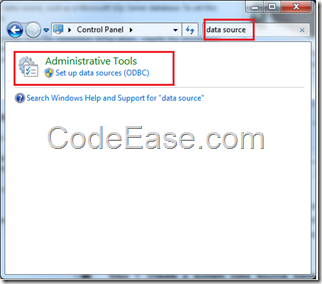
1: Go to Control Panel, input "data source" in searching box on the top right corner, you will see "Set up data sources (ODBC)" under Administrative Tools" Category, click it;
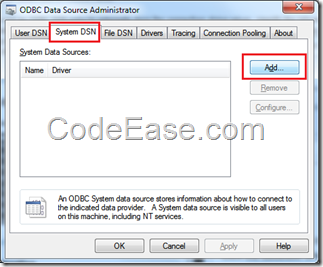
2: Go To "System DSN" table, and then click Add button:
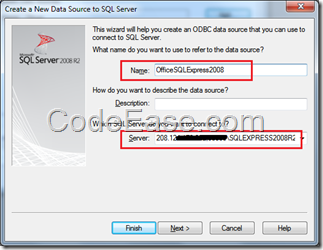
3: Select "SQL Server", and then click "Finish" button

4: Input a Name which you want, and input database server which you are using, then click Next button:
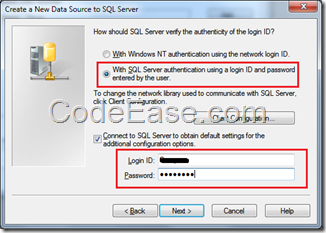
5: Input SQL Server database user information to connect the database, then click "Next" button:
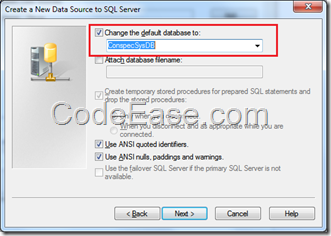
6: Then change default database, then click "Next" button:
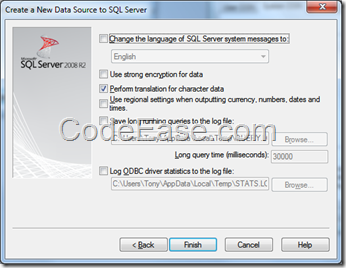
7: In the next screen, if you do not need change the options, just click Finish button:
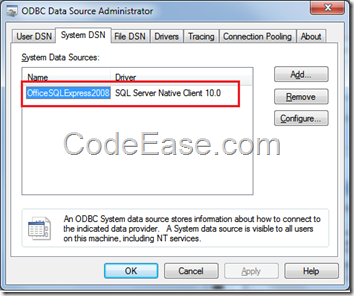
8: Now you have a chance to test data source, or you just click OK button to close the Window, you will back to Data Source Administrator screen, and you can see the new data source has already created, please click OK button here to finally save!
 **Step 2: Import SQL Server data table structures in Visio 2010:**
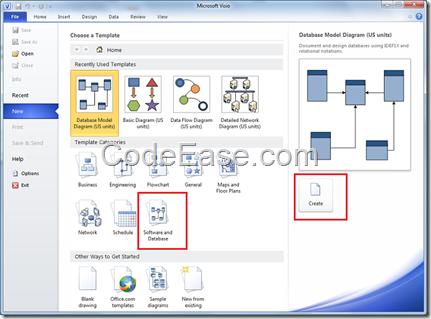
1: Open Visio 2010, Create a new project using "Database Moel Diagram" under "Software and Database Template"
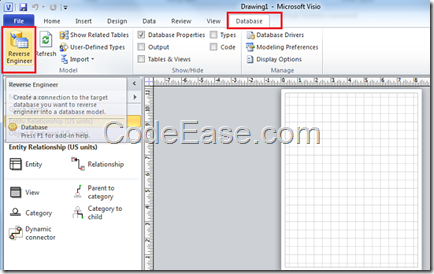
2: Select Database menu and choose "Reverse Engineer" icon:
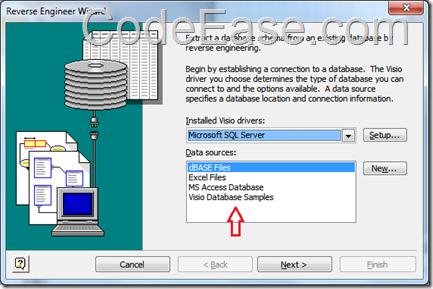
3: Select "Installed Visio drivers" and try to choose the data sources which you created in Step 1;
However, you might can not see the same that you just created, just like below screen shot.
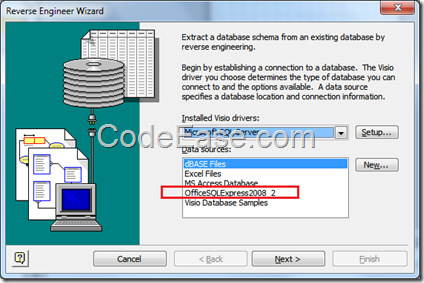
The reason is you are using Windows 7 64-bit system, I think this is the Windows 7 64-bit’s bug: Actually when you opened the "Set up data sources (ODBC)" in step 1, it opened a ODBC32-bit program, here you have to manually open the 64-bit program, which is C:\Windows\SysWOW64\odbcad32.exe. When you open it, please repeat all steps in Step 1;
Now when you check Installed Visio drivers data source, you will see the data source which you added:
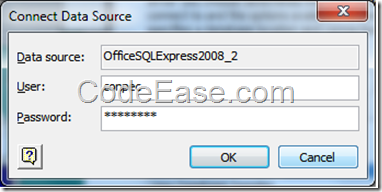
4: Click Next button and input user and password for connecting data source
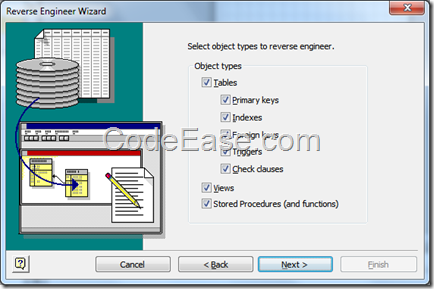
5: Select object types, just click Next button here:
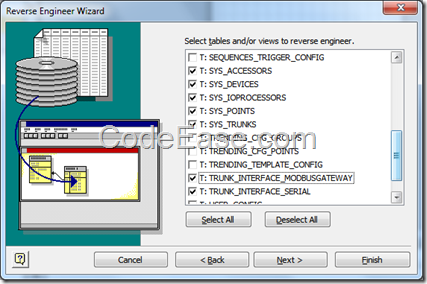
6: Select tables that you want to import:
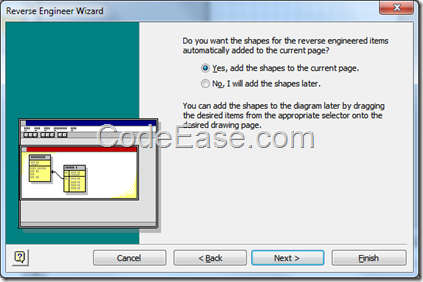
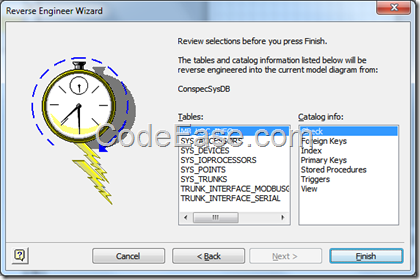
7: Keep the default selections and click Next button:
8: Final review and click Finish button:
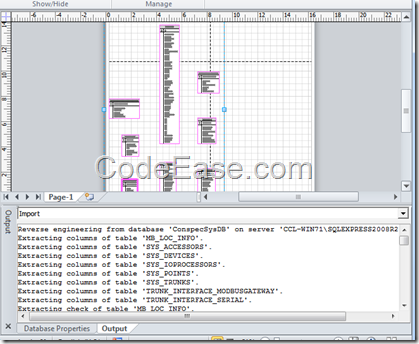
9: finally, we can see now the SQL Server data tables are imported in Visio 2010: